
Activity Feed › Discussion Forums › Strictly Surveying › Beginner Equipment

I would suggest the Boy Scout Surveying Merit Badge book as your first text. Look for a used tripod and a lower power scoped level with a 360?ø circle and stadia lines. You could buy a level rod or use 6′ folding engineer’s rules to start, attach two to a 12′ 1×3, or 1 1/2″ to 2″ pvc pipe, and use large sticky numbers 1 to 12 along side the rules. You will need a folding engineer’s rule (feet and decimal feet), a 25 steel tape and a 100′ fiberglass tape, (feet and decimal feet preferred). A clip board and quarter inch lined graph paper. Mapping is not as precise as surveying, but the same principles apply.
Instead of folding engineer’s rules a 12′ tape refill can be glued to a rod. By the way, those wooden survey rods were called Philadelphia rods.
Have fun.
Paul in PA

I can sense a bit of cheekiness in your response, oldster. You appear to be the only one that see this thread as a phishing expedition or an attempt to drag the community.
Really guys? “hobby of map making”? What is that? Who nonchalantly ask for help with a hobby of heart transplants? Jeez. Paden or Holy Cow should have sniffed that crap out in an instant.
You almost got us RPLS’ers with that one, neodm.
Reminds me of that test of 25 questions in high school where the instructions clearly state that the test taker should read all 25 questions prior to proceeding. Question 25 was not a question but stated that the test taker was not to answer any of the previous 24 questions, but to sit quietly until the end of the timed session.
Much scrambling and fidgeting and head scratching ensued.
Good job Neo,
JA, PLS SoCal

Download QGIS
Find the local source for Aerial Imagery
Digitize
Then find the local, regional, and national GIS sources.
Combine, compile, satisfy your need to map.
Then learn about LiDAR.
 Posted by: @neodem
I asked about a level since I don’t know much of the terminology (I was thinking about the thing surveyors put on a tripod.. I’ve heard “level” and “transit”).
This statement is conclusive evidence you need some study before choosing equipment. Read up on how the equipment is used before buying.
.
Plane table for sure, no doubt there are ones to borrow or to buy on the internet.
I did lots of work with them, circa late 1970’s, perfect for what you want to do and so hands on that you actually learn the nuts and bolts of topo and location. While cleaning out the back shed we threw away one a couple of years ago, but if you want to learn topo location and drawing it is the way to go. You will need a helper or you will have to move a rod over and over walking back and forth. The plane table basically plots the shots you need on the table as you survey, then you draw the interpolated contour lines and features by hand.

You can use a flat table, an engineer’s scale, and a 100 foot tape. Go in backyard, tape paper down to table, make dot in center (this is where you are at), measure distance to feature such as house corner, site down scale with zero on dot and other end pointing at house corner, at distance measured make a dot or x on the paper to represent the house corner. Lather rinse repeat. Connect dots or Xs with lines. While you are doing this DO NOT MOVE OR ROTATE THE TABLE.
If you want elevations, get a surveyor’s level (pretty cheap) and have someone put the rod in strategic places represented on your paper map and write down rod readings. Maybe select a corner of a concrete walk and call it 100 elevation. Read the rod, add the distance up to get the elevation of the instrument telescope (we call it the H.I. or Height of Instrument) then subtract rod readings from your H.I. at other places to get relative elevations.

@neodem Welcome, and good for you for wanting to try your hand at map making. Cartography, surveying, and geodesy are all beautiful subjects, and it doesn’t surprise me that someone would want to explore them avocationally. They’re certainly much more interesting than the many less intellectual, less creative, and more dissipative activities in which myriad people spend their time when not making a living.
The books by Greenhood are wonderful, fun books. I’ve had the second edition, retitled “Mapping,” for close to 40 years.
Others have given good advice here about seeking some textbooks on elementary surveying and about how availability of an assistant can affect your methods and your choices of equipment. I particularly like the suggestions of using a plane table. That’s a method with a history going back to the 1500s and is very much hands-on. When I started using US Geological Survey topographic maps, a lot of them still noted that they’d been produced by “planetable” (USGS’s one-word style) surveys, perhaps photo-revised later. I think the US Army was using plane tables into the 1960s. And if this article is to be believed, there was still at least one, elderly professional surveyor in the US using a plane table in 2012 (for doing a topo survey of a 90-acre farm):
http://archive.amerisurv.com/PDF/TheAmericanSurveyor_Sloan-TheLastPlaneTableSurveyor_Vol9No6.pdf
A couple of other short articles with some plane table history and explanation are:
https://www.pobonline.com/articles/86187-plane-table-mapping
https://www.aramcoexpats.com/articles/alidade-and-plane-table/
And another nice webpage:
http://www.prc68.com/I/Alidade.shtml
Greenhood’s books have a section about plane table mapping.
Plane tables remain popular with a small number of archeologists. I know a surveying instrument dealer / repairer who sold a plane table setup to an archeologist about two years ago, for actual field use.
If you think you’d like to go that route, you can improvise a simple pointer, as at least one other person here has suggested, for horizontal-only plane table mapping. With a little patience, you can find some good deals for proper, antique (1950s/1960s and earlier) plane table alidades on eBay. Interestingly, those instruments are more common and usually less expensive than the tables themselves and their tripods. Again, with some improvising, you could make your own table and perhaps adapt it onto a contemporary, sturdy video tripod — you would need an arrangement of heads that has a pan motion above the leveling motions. Also, a company in England was still selling new plane tables (aimed at archeologists, as I recall) as of a few years ago, but my recollection is that they were pricey.
Do some searching on the Web and in books to become familiar with the different variations of plane table alidades — tall ones, short ones (“expedition” alidades), ones with built-in trough compasses, ones with Beaman arcs, self-reducing alidades, etc — before jumping on anything on eBay. And beware of the ersatz junk from India on eBay. Some of those items are forthrightly described as “replicas,” but a lot aren’t. If you see “brass” in the item title or “from India” in the listing, then run away.
I have a PDF of a Keuffel & Esser book from 1975, “The Care and Adjustment of K&E Surveying Instruments” that gives instructions and other details for what was probably their final model of plane table alidade, the Paragon Self-Indexing Alidade, which was designed in cooperation with USGS. Send me a private message here on RPLStoday with your email address if you’d like me to send you a copy. These alidades show up on eBay from time to time. It’s interesting that this book shows alidades along with electronic distance measuring equipment and electronic total stations; it was a time of overlap and transition in surveying and mapping instruments and methods.
Good luck, and enjoy yourself!

I did a boundary survey one time for an engineer who did his own topographic survey.
Like Dave Karoly says, he used a flat table, a large plastic full-circle protractor and had a buddy (wife?) to help measure distances to features which he scaled on the map with ruler.
The unique thing was that he called the elevation of his house finished floor zero. It was the first time I had ever seen negative elevation contours, but it sure differentiated the above- and below-the-floor contours.
Negative numbers are anathema to most surveyors, they stop at nothing to using them.


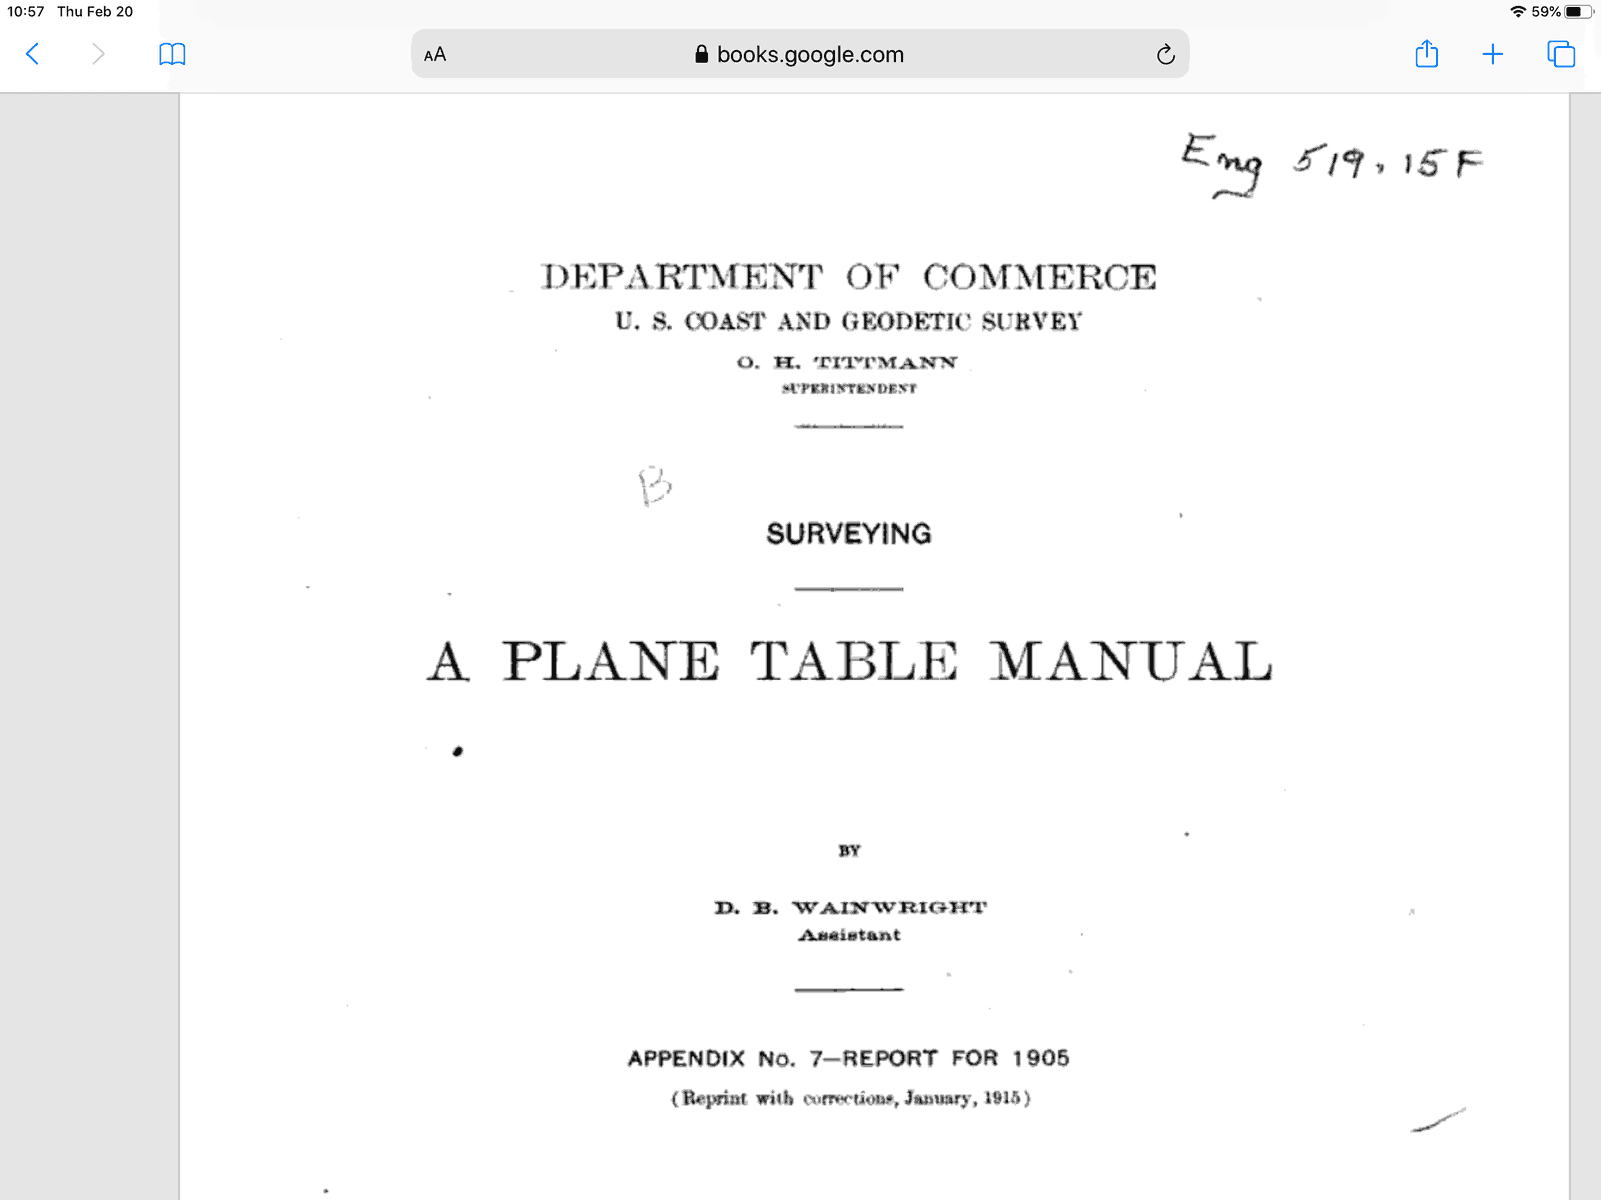
this manual is available in digital form via this link:
https://books.google.com/books/about/Surveying.html?id=JnQOAAAAYAAJ
I did planetable work to update charts in the early years of my career. Wow almost fifty years ago. While my work at the time was updating, another advantage of the tool is that you can better see what you might have otherwise missed.
The USC&GS had their own planetable system with a very robust system to level and orient the board. The Johnson head was a much simpler and significantly lighter tripod head. The boards themselves were quite sturdy and heavy.
Some interesting photos of C&GS surveyors using planetables come up in Google searches.
I believe the text mentioned by Bill93 had a section on planetable use.
Some historic photos on planetable use: https://photolib.noaa.gov/Collections/Coast-Geodetic-Survey/Geodesy/Topography-Mapping-the-Shoreline/Plane-Table-Mapping
Top left on this page is the planetable head I used in the early 1970s.

One thing I’ve used in my random teaching assignments for total newbies is to discuss the role of converting
Polar Coordinates into Cartesian Coordinates.
We all used them in high school and probably wondered where these would ever come in handy. Well, it’s pretty much the backbone of mapping from measurements to paper.
We take an angle and a distance and convert them to Northings and Eastings or (X,Y) coordinates found in every graphing math class and topic.
collect a bunch of angle/distance pairs in relation to a baseline and plot them out on a sheet of graph paper and connect the dots!
you don’t need to buy a Plane Table… just get a compass and a 100′ tape, maybe pound a small post in the ground for your 0,0 and site something to reference your angles to and start measuring.
The OP seems like a pretty bright guy, I’m hoping he finds a way to do what he is looking for.
Andy

@bill-c Thank you so much for all those awesome links and advice. I love the plane table idea and it’s actually described in the Greenhood book.
However, when I look online, it seems that a new planetable setup (table, tripod, alidadade, etc.) is super expensive (over $400 on the low end) while it looks like I can find a simple level kit for less. Wouldn’t they kind of do the same thing? A level would show me angles and I can sight points in the same way, etc.
@jerry-attrick who would spend time posting and asking questions and replying just to troll people?
@andy-j thanks.. yes, this is what I was alluding to in another answer. But my question is this: couldn’t I do what you’re suggesting with an entry level level? I found this one on amazon.. $200 seems reasonable to me: https://amzn.to/2HJqiD3

You can layout a base line or grid, on the ground; and measure everything from that and put it in your notes.
This is kind of like what i’m talking about; but you get the picture.
As long as you can keep your baseline straight, you won’t need a transit, just a level, for elevations. You can use Pythagorean’s theorem to make your 90d angles.

Take these notes back to the office; plot them to an appropriate scale on a piece of paper and Voila! you’ve made your map.
I hope everyone has a great day; I know I will!
@neodem I am located about 50 mi. SW of Philly in Chester Co. and am mostly retired. If you would like to putz around with either your equipment or mine, shoot me off a PM and I will try and get you pointed in the right direction (little survey pun there) 🙂
@neodem You’re welcome. I’ve been busy and unable to follow this discussion for the past day or so. Some of what I’m going to write might now be redundant, but…
You could use a level that has a horizontal circle, to measure directions to various topographic or other details — as long as the elevation change to a detail isn’t too great. The level’s line of sight can’t tilt up or down, so the combination of the ground elevation at the detail, and the length of your range pole or leveling rod, or the height of the detail itself, has to be such that it falls into the level’s field of view. In the small 200 meter x 200 meter area that you mentioned, chances are that this won’t be a problem, but you should keep it in mind. A “fancy” plane table alidade will have a telescope that can tilt up and down, and a simple, sight-vane alidade allows you to angle your line of sight up or down.
A level’s horizontal circle readings are rather coarse. As at least one other member noted, you might consider using a compass, like a Suunto plate compass. With good technique, your measurements might be comparable to what you could achieve with an inexpensive level’s horizontal circle.
The plane table video from Scotland that another member cited is a good one. Note how simple their equipment was. In my previous comment, I suggested using a video tripod with a pan / tilt / etc head. But I’m pretty sure that the crew in Scotland were using a fixed-head, surveying-style tripod. They did all the leveling by means of adjusting the tripod’s legs, and they oriented the plane table by simply turning it atop the tripod head before tightening the fastening screw.
I still think the best and most important thing for you to do right now is to do some more reading and studying. There have been good suggestions for various books. I’ll add another: “Elementary Surveying” by Breed and Hosmer. It had editions from the early 1900s into the 1970s. You can find copies on abebooks.com for under $20, and there might be a free PDF on the Web for one of the early editions.
You haven’t mentioned what kind of background you have in mathematics, science, or engineering. If you haven’t looked at it since high school, it would be good to refresh yourself on plane trigonometry, and likewise on simple geometry.
With reading a textbook or two, and doing those math refreshers, you could start to answer some relevant questions for choosing equipment and planning your work. For example, how big a map do you envision making of your 200 meter x 200 meter area? A US Letter size sheet in a notebook? A 24×36 inch sheet that you’ll frame and hang on the wall? That choice will determine the scale of your map. Then, think about the size of the smallest speck or difference of location you could discern on the map. Maybe 0.25 mm? Knowing the scale, you can translate that to a size on the ground. Then with a little trigonometry, and knowing the extent of the area you’re mapping, you can figure out how finely you need to measure angles and distances. And that can help you determine what equipment would be adequate and what would be overkill.
As another member noted, you could take an entirely different approach to measuring the locations of details. Instead of measuring angles and distances, you could measure distances along a baseline and perpendicular distances from it to the details. I think you mentioned having a laser rangefinder or distance meter already. Depending on its characteristics, you might not need to buy any more equipment. Put two stakes in the ground to mark the ends of your baseline, attach a piece of white cardboard to one to serve as a convenient target for your laser, then walk along the baseline, eyeballing perpendiculars to your left and right. Shoot the laser to details on those perpendiculars, also shooting back to the beginning of your baseline. Then plot everything on graph paper. If it’s not easy to shoot the laser directly to certain details, then have an assistant stand at those details, holding another piece of white cardboard as a target.
Anyway, enjoy the learning and the opportunities!


Log in to reply.